If you’re not making your own yogurt yet, you should really get started.
And I know what you’re thinking already, but trust me and just keep reading.
(.)
My first thoughts when my dad gave me the idea?
- Messing around with bacteria is literally asking for it
- The milk will spoil
- What a waste of food
- I don’t live in rural Europe what is this
But, you know, being the amazing daughter that I am, I decided to humour him and give it a go.

So, I looked up a variety of directions to get the general idea, bought a half gallon of skim milk, and got started.
And, I’m sorry, but however good you think your store-bought yogurt is…
Homemade yogurt is better.
And, in retrospect, store-bought yogurt is actually not that great. My great aunt used to work as a chemical engineer for a yogurt company (Danone, actually) and she had a good saying: “The yogurt you buy in stores today is everything but yogurt.”
Here’s a run-down of the most basic reasons why you shouldn’t buy mass-produced yogurt:
- Most yogurts have added gelatin for thickness. Yeah, that’s right. Your daily Greek yogurt? Might not say it, but it most likely has gelatin. Gelatin, also known as pork fat. Gross man.
- All right, so let’s say you’re special and your yogurt doesn‘t have gelatin. Then it probably has pectin. And it’s not natural pectin either, like the one found in fruits–it’s synthetic pectin, the kind that induces allergic reactions in a sizeable portion of our society.
- Wanna know what else mass-produced yogurt might have? Agar. While it is perfectly harmless to humans, it is added for two (very stupid) reasons: 1) thickening and 2) attempting to increase bacteria growth rate. Now, from what I learned in my cell biology class, I just need to let you know that bacteria are simple things. They take as much as they need, and adding in agar won’t make them take in more nutrition. Bacteria don’t go through binge-eating, like us humans, unless there’s some seriously odd chemical imbalance. So basically, yogurt companies are adding a useless substance (for me, a disgusting smelling one, but that’s as a result of too much time spent in Biology class) for no reason. Seriously.
- Because mass-produced yogurts need to last a much longer time, they often have preservatives added in. They might not be harmful to the human body, but it’s kind of nasty just thinking about it. I want fresh food, not preserved food, unless there’s a natural disaster in which case all pickiness goes out the window and it’s every man/woman for him/herself.
- A lot of yogurts, even some plain yogurts, have added sugar. Why, I will never understand.
- Fruit-flavoured yogurts very rarely have fresh or frozen fruit. Instead, the companies use processed sugar-loaded fruit preserves.
So, basically, make your own yogurt!
Still not convinced? Here’s some basic good reasons:
- It’s easy. Most of the instructions require you waiting.
- It’s so much cheaper than buying yogurt. With $4.75 (1 gallon of skim milk), I made over 6 500 g containers of yogurt. (That’s over $36 worth of yogurt!)
- It’s healthier–you know that there’s no gelatin, pectin, or other nasty thickeners, as well as added sugar and preservatives. Just milk, which is what yogurt really should be.
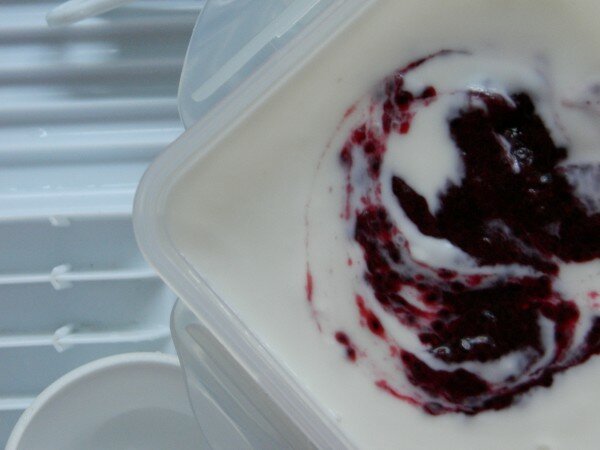
- You can make it any flavour! Use chia jam instead of heavily-processed fruit preserves, fresh or frozen fruit, honey, maple syrup–the possibilities are endless! Don’t let a yogurt company stop you from getting your ideal yogurt flavour

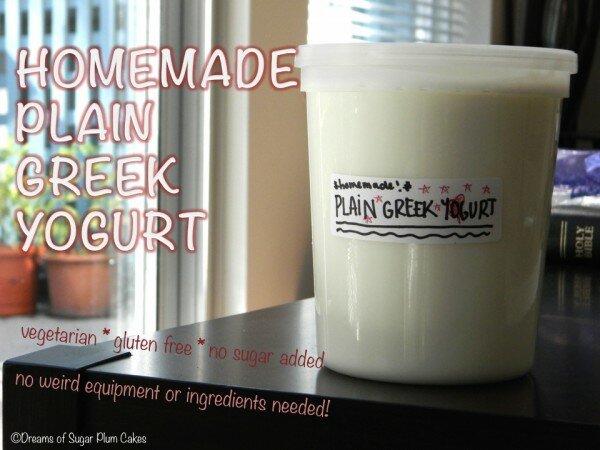
HOMEMADE PLAIN GREEK YOGURT
Makes: ~5.5 cups
Prep Time: 60 minutes (You literally have to do nothing though, just trust me.)
Incubating Time: 24-45 hours (I haven’t ever left it more, and the reason I leave it this long is because I don’t put it in the oven or in an incubator–it’s just sitting on top of my kitchen cupboards–so it takes longer to thicken.)
Ingredients and Tools:
- Half a gallon (2 L) of your choice of milk (Skim, 1%, 2%, Whole, Homo, or Lactose Free, but don’t use Dairy Free! The process is different.)
- 3 tbsp yogurt (Either what you have from the store or a previous batch of homemade.)
- Large, heavy-bottomed pot
- Instant-read thermometer (Most online directions say a candy thermometer is best, but I personally hated the candy thermometer. Our kitchen timer has an attachable “meat” thermometer, which actually worked plenty better.)
- Wooden spoon
- Plastic container with lid, capacity of over 2 L (I use a 2.2 L one.)
- Lots and lots of towels and/or mini blankets
- Optional: a hot water bottle or a small electric blanket (I don’t use this, but it could help maintain the ideal temperature for the bacteria.)
Directions:
- Pour the milk in the large pot. Take out 2 tbsp and place in a small bowl or ramekin. Set aside.
- Heat milk over LOW heat. Stir occasionally to keep from forming that weird film (which is actually kinda tasty right when it forms, but gross after it’s been sitting in yogurt) and from sticking to the bottom of the pot. Set up thermometer to monitor the heat of your milk. Continue heating over low heat until milk heats to 175 to 180 degrees Fahrenheit (79.4 to 82.2 degrees Celsius). NOTE: This will take a while, but you don’t have to stand right by the pot the entire time! Watch a movie, do some homework–just set a timer for every 15 minutes to give the milk another stir.
- Meanwhile, add the 3 tbsp yogurt to the 2 tbsp of milk you set aside and mix until well combined. Set aside, and stir every 15-20 minutes. This is your yogurt starter.
- Set up your container with your best heat-conserving towel or mini blanket under it. Set up the area where you want to keep your milk with a good towel/blanket as well. If your kitchen is on the main floor, I recommend right on top of your cupboards near the ceiling, since that’s where the heat rises when you’re cooking.
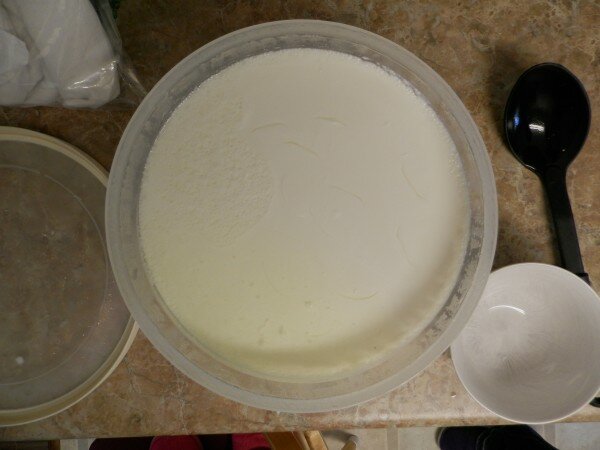
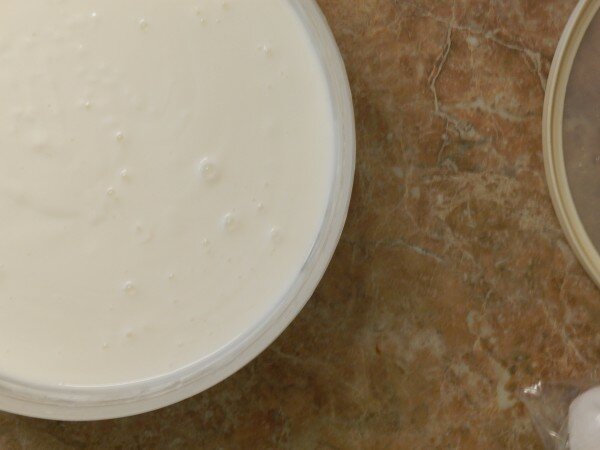
- Once milk is heated, pour into your container. Mix in yogurt starter and MAKE SURE IT IS WELL COMBINED. You want the bacteria in the starter to be as spread out as possible, so that they don’t get overcrowded and have limited room to grow and reproduce.
- Put on the lid to your container and cover with the remaining towels and blankets. Make sure to insulate the sides as well! Store in your prepared area for keeping the container.
- Heat an electric blanket for about 10-15 min or fill a hot water bottle and place on top of the TOWEL-COVERED container, if using.
- Allow the bacteria to do its thing for about 24 hours. If you want thicker yogurt, I suggest waiting until the maximum time (~40 hours).
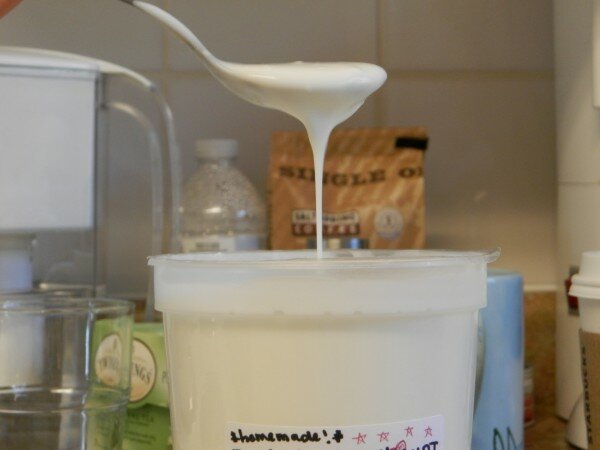
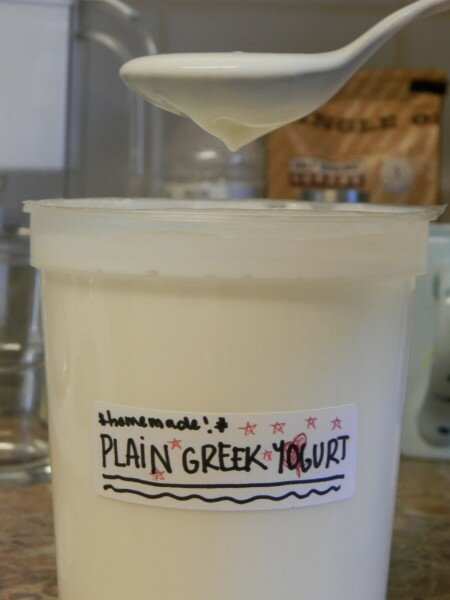
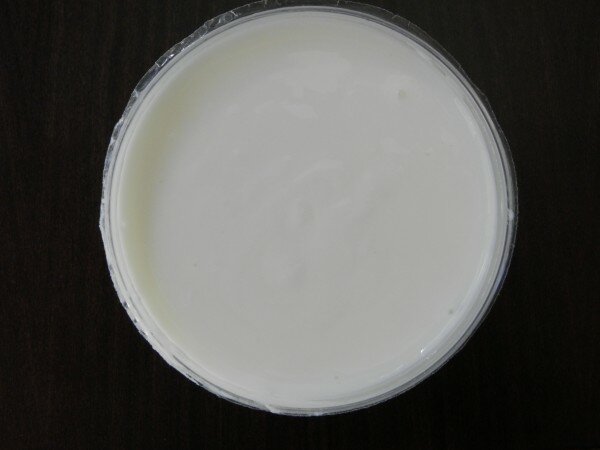
- Once yogurt is ready, take down, remove lid, and remove the whey on that has collected on top using a large spoon.

- Using a metal whisk, whisk yogurt to make extra smooth and creamy.
- Move yogurt to plastic containers or jars and store in fridge. Good for about 1 1/2 weeks.
Written by: Celestina Tanase // Creator of
Comments
comments